Making A Classic Sock Monkey - Simple Instructions
Do you remember those charming, floppy sock monkeys from your childhood, or perhaps you've seen them in pictures and wondered how they come to be? Well, creating one of these delightful fabric friends is a truly rewarding activity, and it's something anyone can do with just a few everyday items. You see, while picking up a ready-made sock monkey is always an option, there's a special kind of satisfaction that comes from bringing one to life with your own hands.
This particular project, it turns out, asks for just a handful of things you likely have lying around your home: a couple of socks, some soft material for filling, and a basic ability with needle and thread. It's a fun way, too, to spend an afternoon, and the result is a unique, huggable companion that holds a bit of your own creative spirit. We’re going to walk through the process, showing you how to turn something as simple as a pair of socks into a cherished toy.
Many folks have asked about the steps involved in making these whimsical creatures, so we thought it would be nice to share some guidance. This way, anyone with a bit of free time and a spark of imagination can craft their very own. We’ll cover everything from picking your socks to the final touches, making sure you have all the details for your very own sock monkey instructions.
- King Von Coffin
- Smart Girlfriend Meme
- Angry Black Boerboel
- Lorazepam Parker Posey
- Piercing En El Pez%C3%A3n Mal Hecho
Table of Contents
- What Exactly Do You Need for Sock Monkey Instructions?
- Gathering Your Materials for Sock Monkey Instructions
- Is Making a Sock Monkey Really That Simple?
- Starting Your Sock Monkey Instructions - The Sock Preparation
- Where Do I Find Good Sock Monkey Instructions?
- Shaping Your Monkey - Following the Sock Monkey Instructions
- What Makes a Sock Monkey Unique?
- Finishing Touches for Your Sock Monkey Instructions
What Exactly Do You Need for Sock Monkey Instructions?
So, you're curious about making one of these little pals, are you? The good news is that the list of supplies is quite short, actually, and most of what you need might be tucked away in your linen cupboard or craft box already. You won't need anything fancy or hard to find, which is pretty great when you think about it. It’s all about taking everyday items and giving them a new purpose, a rather charming transformation, if you ask me.
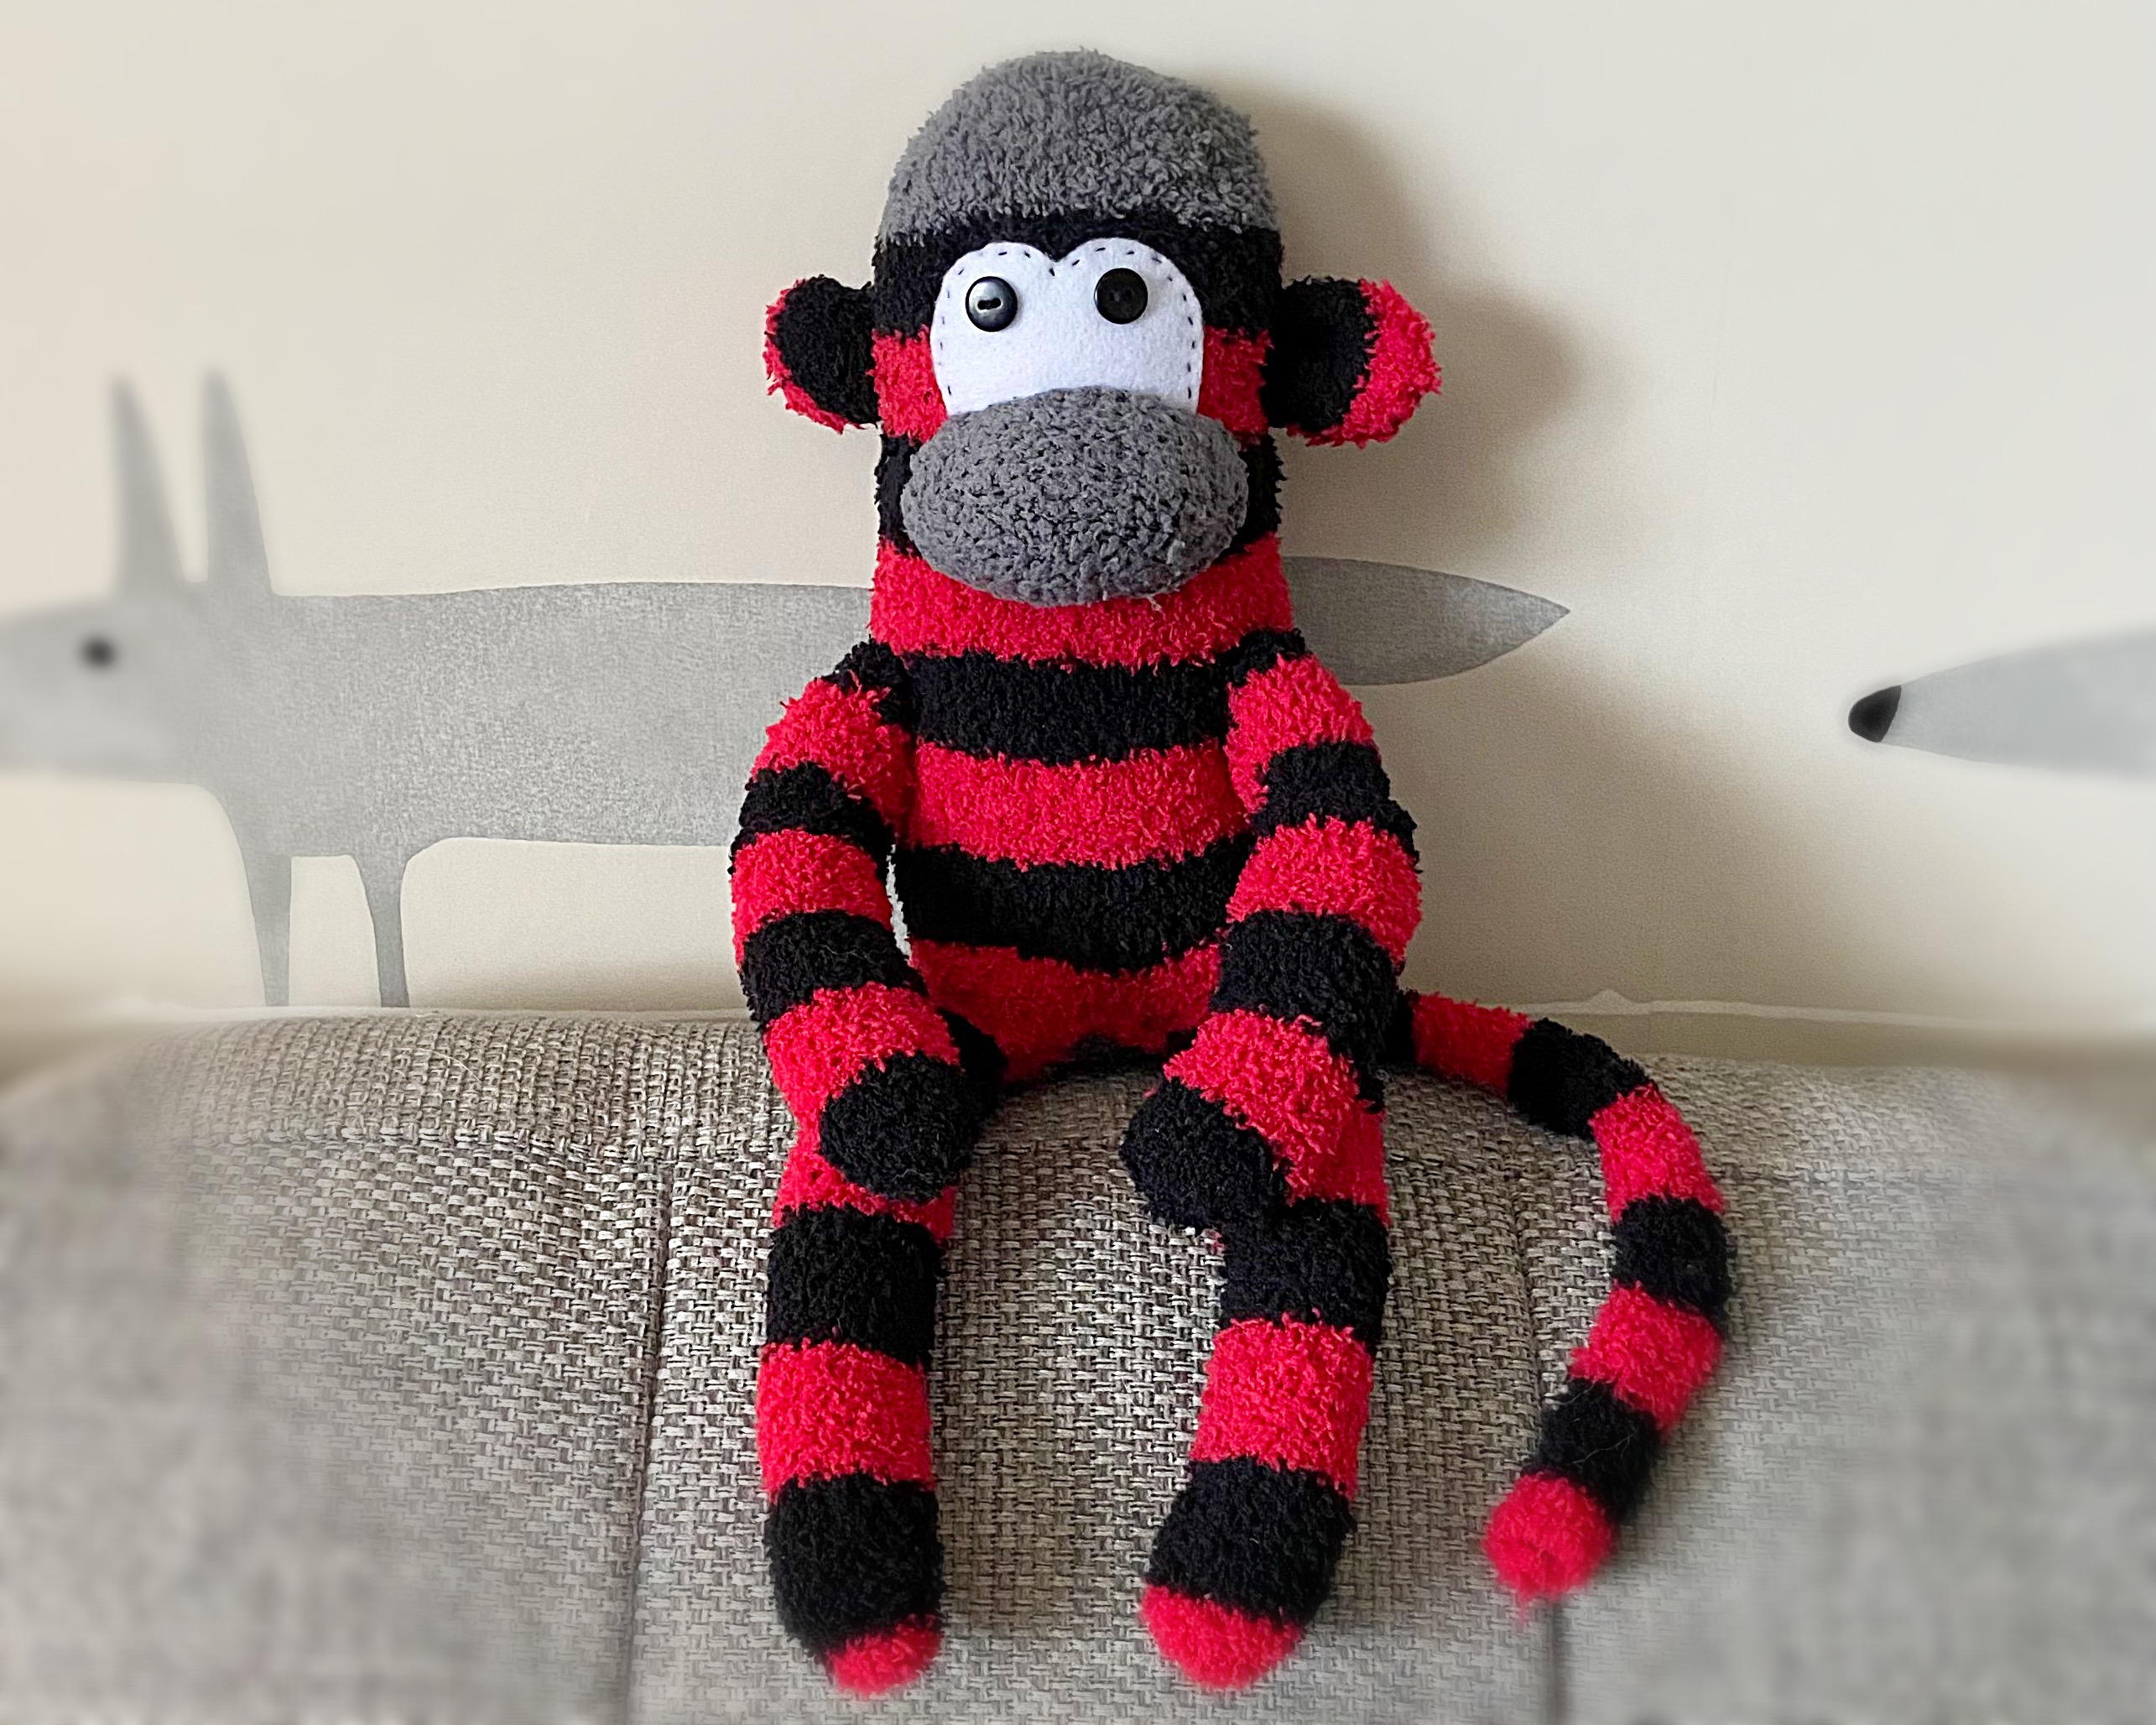
At its heart, the process relies on a pair of socks. Now, the traditional choice for these little figures is a particular kind of sock, often with a contrasting color on the heel and toe, which gives the finished monkey its distinct look. But honestly, you can use almost any pair of socks you like. The more colorful or patterned they are, the more personality your finished friend will have, which is something to consider. That, and the fact that you can really make it your own.
Beyond the socks, you'll want some soft filling material. This could be fiberfill, or even old fabric scraps cut into tiny pieces, which is kind of neat. You'll also need a needle and thread. Some folks like to use buttons for the eyes, which is a classic touch, but you can also simply stitch the eyes on with embroidery thread if you prefer. A bit of embroidery thread for the mouth is also a nice idea, giving your monkey a sweet smile, or maybe even a mischievous grin, you know?
- Wife In Stocking
- Is Rebecca Zamolo Pregnant 2025
- Beauty In Black True Story
- Talking To Someone With Blue Eyes Meme
- Horse From This Angle
Gathering Your Materials for Sock Monkey Instructions
To get started with your sock monkey instructions, the very first step is gathering everything together. This makes the whole process smoother, really. Think of it like preparing your kitchen before you start baking; having all your ingredients lined up just makes things easier. You'll want a clean, flat surface to work on, too, so you have plenty of room to spread out your supplies and get comfortable. It's about setting yourself up for a pleasant crafting experience, after all.
You will definitely need a pair of socks. As we talked about, socks with a different color on the heel and toe are popular because that contrasting bit becomes the monkey's mouth. But if you have other socks you love, like ones with stripes or polka dots, those can make a truly unique creature, which is pretty cool. The material of the sock also plays a part; something soft and a little stretchy is usually a good pick, as it's easier to work with when you're shaping your monkey.
Next, get your stuffing ready. This is what gives your monkey its soft, squeezable form. Then, grab your sewing tools: a needle, some thread that matches your sock color more or less, and maybe some pins to hold things in place. If you're going for button eyes, pick out a couple that you like. Otherwise, have some embroidery floss ready for stitched features. Having all these bits and pieces close at hand will make following the sock monkey instructions a breeze, you know, just like that.
Is Making a Sock Monkey Really That Simple?
Many people wonder if making a sock monkey is a complicated task, and it's a fair question, especially if you're not someone who spends a lot of time with crafts. But the truth is, this project is surprisingly straightforward. You don't need years of sewing experience or a special knack for making things. It's more about following a few basic steps and being patient with yourself as you go along. It's a very forgiving project, which is rather nice.
The beauty of the sock monkey is in its simple design. It’s not about perfect stitches or intricate details; it’s about creating a charming, handmade toy. The instructions are usually broken down into manageable parts, making it easy to follow along even if you're just starting out with sewing. You'll find that with each step, your little monkey starts to take shape, and that's a pretty satisfying feeling, I mean, it really is.
Even if you consider yourself someone who isn't "crafty," you can absolutely make a beautiful sock monkey. The basic stitches are easy to learn, and there are plenty of visual guides available to help you see exactly what to do. It’s a project that builds confidence, too, because you get to see a lovely toy come to life from simple materials, which is quite rewarding. So, yes, it truly is quite simple, in a way.
Starting Your Sock Monkey Instructions - The Sock Preparation
When you're ready to begin following your sock monkey instructions, the very first physical step involves preparing your chosen socks. This part is pretty important because it sets the foundation for the rest of your monkey's body. It’s not hard, just a bit of careful handling to make sure everything lines up correctly. You want to make sure your socks are clean and ready to be cut, of course.
You'll typically take one sock and turn it inside out. This is a common practice in sewing, as it helps hide the seams once your project is finished. The key here is to position the heel of that sock right in the middle. This heel section, as it happens, will form the monkey's face, giving it that classic look. If your sock is a bit wrinkled, a quick press with a warm iron can make it easier to work with, too, which is just a little tip.
This first sock, the one with the heel centered, will become the main part of your monkey's body. The other sock will be used for the arms, legs, and tail. Some guides will show you exactly where to make your cuts on each sock, often providing patterns or lines to follow. Taking your time with this initial preparation will make the rest of the sock monkey instructions much smoother, and you'll be glad you did, you know?
Where Do I Find Good Sock Monkey Instructions?
Finding reliable sock monkey instructions is pretty straightforward these days, thankfully. There are so many resources available, whether you prefer to follow along with pictures, read detailed steps, or even watch a video. It's all about finding what works best for your learning style, which is rather convenient. You want something that feels clear and easy to understand, without too much jargon.
Many people find that the instructions that came with vintage red heel socks are quite good, as they are the original way these toys were made. These often have a timeless feel and are very direct. Then there are contemporary guides, created by gifted crafters who have put their own spin on the classic design. These often include lots of pictures, which can be super helpful for visual learners, I mean, they really can be.
You can often find free patterns and step-by-step tutorials online. Some even offer downloadable patterns that you can print out, which takes away some of the guesswork. The best instructions will break down the process into small, manageable steps, so you never feel overwhelmed. They might also include tips for variations or ways to personalize your monkey, which is pretty neat. So, just look around a bit, and you'll find plenty of good resources for your sock monkey instructions.
Shaping Your Monkey - Following the Sock Monkey Instructions
Once your socks are prepared, the real fun of shaping your monkey begins. This is where your flat pieces of fabric start to take on a three-dimensional form, which is quite exciting to see. Following the sock monkey instructions carefully during this stage is important for getting the proportions right and making sure your monkey looks just as you imagined, or perhaps even better, you know?
Typically, you'll sew along the lines you've drawn or marked on your inside-out sock. These lines define the monkey's body, head, and sometimes the ears. After sewing, you'll carefully cut out the shapes, leaving a small seam allowance. Then, you turn these pieces right side out. This is always a little moment of magic, seeing the fabric transform from a flat shape into something that looks like a part of your future monkey. It's very satisfying.
For the arms, legs, and tail, you'll usually cut strips from the second sock, sew them into tubes, and then turn them right side out as well. After all your pieces are turned, you'll begin to fill them with your stuffing material. You want to fill them firmly but not so tightly that they become hard. The goal is a soft, cuddly feel. As a matter of fact, making sure the stuffing is even helps the monkey look well-proportioned, which is kind of important for the overall look.
What Makes a Sock Monkey Unique?
What really sets a sock monkey apart, you might wonder? It's more than just a stuffed toy; it carries a certain charm and history, and honestly, a lot of personality. Each one, you see, turns out a little bit different, even if you follow the same sock monkey instructions, which is pretty cool. That's because they are handmade, and every stitch and every choice of sock adds to its unique character.
The traditional sock monkey is often made from brown heather socks, which give it that classic, somewhat rustic appearance. But these days, the possibilities are endless. You can find socks in so many colors, patterns, and textures that can make a truly one-of-a-kind, fantastic sock monkey. Imagine a monkey with bright stripes, or one covered in polka dots! The choice of sock dramatically changes the monkey's look, which is a lot of fun.
Beyond the socks, the small details you add also contribute to its uniqueness. The expression you give it with the eyes and mouth, the way you stuff it, or even tiny accessories you might add later on – these all make your monkey truly yours. It's a simple project, but the room for personal expression is actually quite vast, allowing each creation to be a little different, and that's what makes them so special, I mean, it really is.
Finishing Touches for Your Sock Monkey Instructions
As you get closer to finishing your sock monkey, you'll reach the stage of adding those all-important finishing touches. This is where your creation truly comes to life, moving from just a stuffed form to a character with its own little personality. It's a very satisfying part of the process, seeing all your hard work come together, you know?
After stuffing the body, head, arms, and legs, you'll need to sew them all together. The instructions will guide you on where each limb attaches to the body, making sure your monkey has its arms and legs in just the right places. This is usually done with a secure hand stitch, making sure everything is firmly connected so your monkey can withstand lots of cuddles and adventures. It’s important for durability, too, in a way.
Then come the facial features. If you're using buttons for eyes, you'll carefully sew them onto the face. If you prefer, you can use embroidery thread to stitch on the eyes, giving them a softer look. The mouth is also usually embroidered, often with a simple red stitch to mimic the red heel of the sock. These small details, like the eyes and mouth, are what give your monkey its expression and charm, which is pretty cool. You can even add a little tail, which is made from a strip of the second sock, and that really completes the look, as a matter of fact.
Making a sock monkey is a fun and simple project that you can finish in just a few hours. All you need is a pair of socks, some stuffing, and a few basic sewing tools. You'll find that the process of turning simple materials into a charming, huggable toy is quite rewarding, and the result is a unique companion that holds a special place in your heart. This guide has walked you through the steps, from gathering your materials to putting on the final touches, making sure you have all the details for your very own sock monkey instructions.
- Are You Todays Date Meme
- Ayo Edebiri Coco Gauff
- Smart Girlfriend Meme
- Petey Fat Camp
- How Long Is Okra Water Good For In The Fridge
How to make a sock monkey - Gathered

DIY Sock Monkey - Instructions Only | Felt

Sock Monkey | Multipet
